
So I am not completely ancient, yet (61), but contemplating what 70's and 80's might look like.
Has anyone thought about, seen, or done a sidecar on an adventure bike?
Not a real fan of trikes, but got to thinking that a Twin set up for "rough roads", like the Ural setup, but with a reliable bike, might be amusing.
I would think the Twin has enough HP to remain amusing, and that there would need to be some serious mods (front suspension), frame welds, etc. to make it happen.
What I wonder is how much off-road performance could be retained?
I don't fully utilize the Twin's off road capabilities, but I do like to take it down the road (ok ditch) less traveled sometimes, and would like to still be able to do that.
One last detail: 29 inch inseam and not a big fan of falling over. Been working on skills for the past couple of years, but hitting some limits.
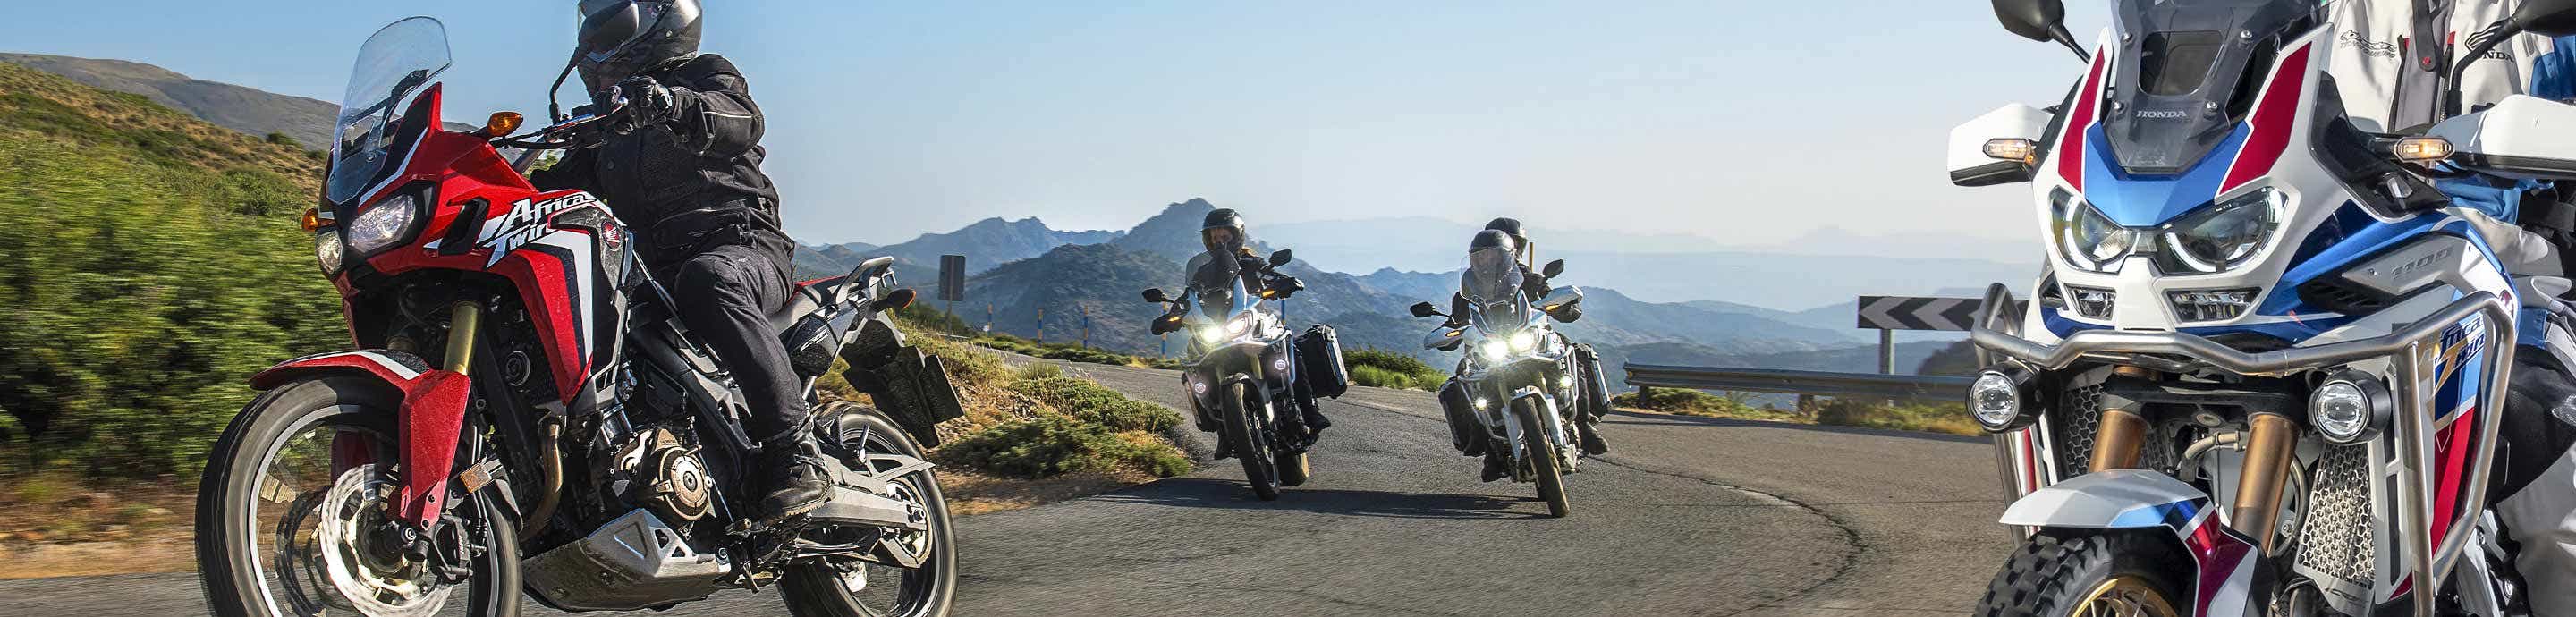
OK: Better image for the thumbnail:
Mine, done, as delivered, 9/22. However as I find, a hack rig is always a work in progress.
![Image]()
Yeah, it keeps evolving... circa Dec 2023
![Image]()
The early stages of this thread are about contemplating and getting a sidecar rig put together for the AT platform.
The middle stages of the thread detail out some pretty rotten experiences with a now defunct sidecar builder and how I corrected most of their skullduggery.
The latter stages document some really fun rides, either by myself, or increasingly with the community of friends that I am making with this crazy rig. Who'd a thought building an off-road capable hack rig would broaden one's circle of friends immensely?
I hope anyone that stumbles across this enjoys it and if you seriously contemplate building a similar rig, PM me. I have made many of the possible mistakes, and continue to make more (although fewer and less frequent!)")
How a friend's turned out, from DMC Sidecars:
Has anyone thought about, seen, or done a sidecar on an adventure bike?
Not a real fan of trikes, but got to thinking that a Twin set up for "rough roads", like the Ural setup, but with a reliable bike, might be amusing.
I would think the Twin has enough HP to remain amusing, and that there would need to be some serious mods (front suspension), frame welds, etc. to make it happen.
What I wonder is how much off-road performance could be retained?
I don't fully utilize the Twin's off road capabilities, but I do like to take it down the road (ok ditch) less traveled sometimes, and would like to still be able to do that.
One last detail: 29 inch inseam and not a big fan of falling over. Been working on skills for the past couple of years, but hitting some limits.
OK: Better image for the thumbnail:
Mine, done, as delivered, 9/22. However as I find, a hack rig is always a work in progress.
Yeah, it keeps evolving... circa Dec 2023
The early stages of this thread are about contemplating and getting a sidecar rig put together for the AT platform.
The middle stages of the thread detail out some pretty rotten experiences with a now defunct sidecar builder and how I corrected most of their skullduggery.
The latter stages document some really fun rides, either by myself, or increasingly with the community of friends that I am making with this crazy rig. Who'd a thought building an off-road capable hack rig would broaden one's circle of friends immensely?
I hope anyone that stumbles across this enjoys it and if you seriously contemplate building a similar rig, PM me. I have made many of the possible mistakes, and continue to make more (although fewer and less frequent!)
How a friend's turned out, from DMC Sidecars: